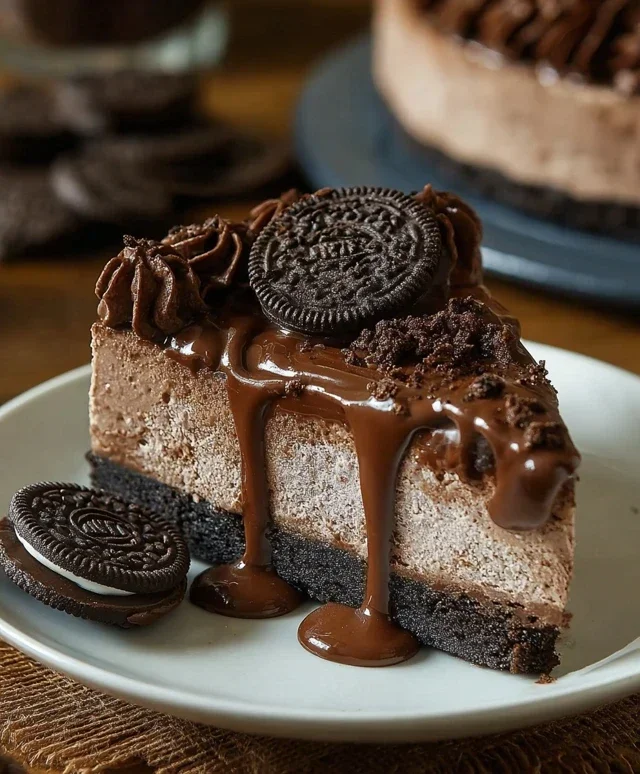
No Bake Oreo Nutella Cheesecake Easy Recipe
No Bake Oreo Nutella Cheesecake is the ultimate dessert dream come true, and trust me, once you try it, you’ll understand why it’s so ridiculously popular. We’re talking about a symphony of textures and flavors: the satisfying crunch of crushed Oreos, the smooth, creamy richness of a no-bake cheesecake filling, all swirled with that irresistible hazelnut-chocolate magic of Nutella. It’s the kind of dessert that elicits gasps of delight and requests for seconds before the first slice is even finished. What makes this No Bake Oreo Nutella Cheesecake truly special is its effortless elegance. You get all the decadent indulgence without any of the fuss or waiting for ovens to preheat. It’s the perfect treat for those days when you crave something extraordinary but don’t have hours to spend in the kitchen. Get ready to impress yourself and everyone you share it with!
No Bake Oreo Nutella Cheesecake
This No Bake Oreo Nutella Cheesecake is the ultimate indulgence for any chocolate and hazelnut lover. It’s incredibly easy to make, requiring no oven time, which makes it perfect for a quick dessert fix or for when you want to impress guests without the fuss. The combination of creamy, decadent cheesecake, crunchy Oreo crust, and rich Nutella is simply irresistible. The best part? You can whip this up in no time and let it chill while you get on with your day. Let’s get baking – or rather, no-baking!
Ingredients:
No-Bake Cheesecake Assembly:
The Oreo Crust:
This forms the sturdy and delicious foundation of our cheesecake. The key is to crush the Oreos finely so they bind well with the melted butter. You can use a food processor for a super fine crum extractb, or place the Oreos in a sturdy zip-top bag and crush them with a rolling pin. Make sure there are no large chunks.
In a medium bowl, combine the 200g of crushed Oreos with the 50g of melted butter. Stir thoroughly until all the cookie crum extractbs are moistened and resemble wet sand. This mixture is what will hold its shape.
Next, take your chosen cheesecake tin (a 20-23cm springform pan is ideal). Spoon the Oreo-butter mixture into the bottom of the pan. Using the back of a spoon or a flat-bottomed glass, press the crum extractbs down firmly and evenly across the base. You want a compact layer that won’t crum extractble when you slice the cheesecake. For an extra touch, you can press the mixture slightly up the sides of the pan to create a decorative edge. Place the prepared crust in the refrigerator to chill while you prepare the filling. This helps it set and become firmer.
The Creamy Nutella Cheesecake Filling:
Now for the star of the show – the lusciously smooth cheesecake filling. Ensure your cream cheese is truly softened; this is crucial for achieving a lump-free, silky texture. If it’s too cold, it will be difficult to mix and you might end up with a lumpy filling. You can leave it out on the counter for an hour or two, or gently warm it in the microwave in 10-second intervals, stirring in between, until it’s soft but not melted.
In a large bowl, beat the softened cream cheese with an electric mixer until it’s completely smooth and creamy. There should be no lumps whatsoever. This step is important for a professional-looking and tasting cheesecake.
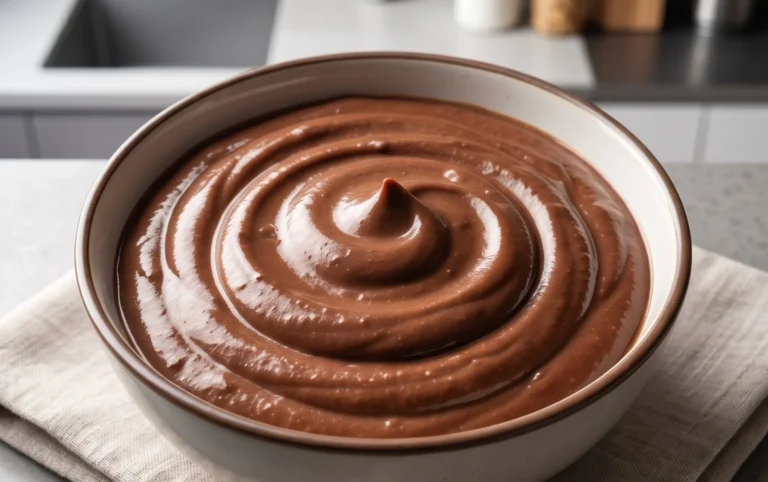
Add the 200g of Nutella to the cream cheese. Beat again until it’s fully incorporated and the mixture is a beautiful, uniform chocolate-hazelnut color. Scrape down the sides of the bowl occasionally to ensure everything is mixed in evenly.
In a separate, clean bowl, whip the 200g of very cold heavy whipping cream with the 50g of granulated sugar. Use an electric mixer on medium-high speed until stiff peaks form. This means when you lift the whisk, the cream holds its shape and doesn’t flop over. Be careful not to over-whip, or you’ll end up with butter.
Gently fold the whipped cream into the cream cheese and Nutella mixture. Do this in two or three additions, using a spatula. Be gentle to keep as much air in the whipped cream as possible; this contributes to the lightness and fluffiness of the cheesecake. The result should be a thick, smooth, and airy filling.
Now, it’s time to incorporate the textural elements. Gently fold in the 100g of chopped Oreos. These will add delightful little crunchy surprises throughout the cheesecake. For that extra layer of Nutella goodness, dollop the 100g of Nutella over the cheesecake filling. Using a knife or a skewer, gently swirl the Nutella through the filling. Don’t overmix; you want distinct swirls of Nutella, not a uniform brown color.
Assembling and Chilling:
Retrieve the chilled Oreo crust from the refrigerator. Spoon the prepared Nutella cheesecake filling over the crust, spreading it evenly with your spatula. Make sure the surface is smooth and level.
Decorating and Setting:
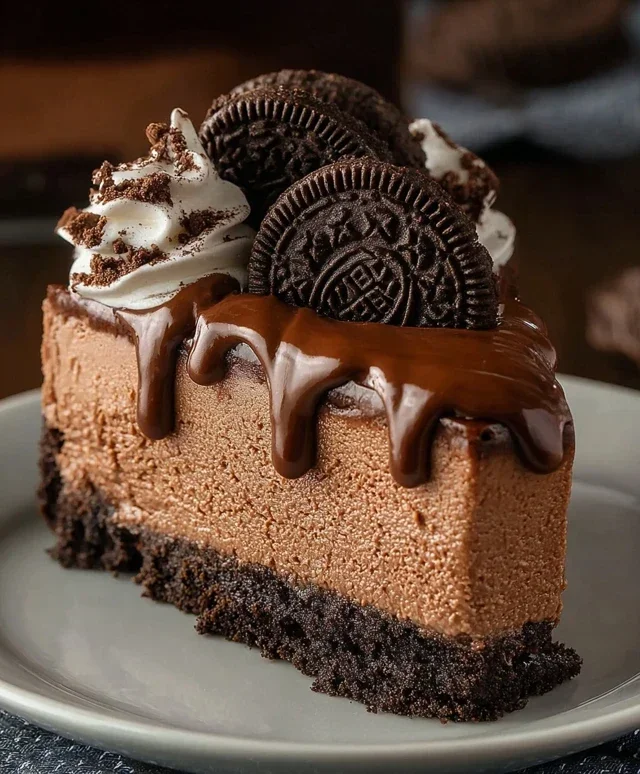
To finish off our masterpiece, gently drizzle the warmed 100g of Nutella over the top of the cheesecake. Warming the Nutella slightly makes it easier to drizzle and creates beautiful, flowing lines. Then, sprinkle the 5 crushed Oreos (without filling) over the drizzled Nutella. Finally, arrange the 6 whole Oreos artistically on top.
Cover the cheesecake loosely with plastic wrap or foil, ensuring it doesn’t touch the surface of the cheesecake. Refrigerate for at least 6 hours, or preferably overnight, to allow the cheesecake to set completely. This chilling time is crucial for the cheesecake to firm up and for the flavors to meld beautifully.
Once the cheesecake is fully set, carefully release the sides of the springform pan. Slice with a sharp knife that has been dipped in hot water and wiped dry between each cut for clean slices. Enjoy this decadent No Bake Oreo Nutella Cheesecake!
Conclusion:
So there you have it – a foolproof and absolutely delicious No Bake Oreo Nutella Cheesecake! This recipe is a winner because it delivers that rich, decadent cheesecake experience without the fuss of an oven. The creamy Nutella filling, studded with crunchy Oreo pieces, sitting atop a chocolatey Oreo crust, is pure bliss. It’s the perfect dessert for any occasion, from a casual weeknight treat to a show-stopping dessert for guests. I truly encourage you to give this a try; you won’t regret it!
For serving, I love to top this magnificent cheesecake with extra whipped cream, a drizzle of Nutella, and a few more crum extractbled Oreos. It also pairs beautifully with fresh berries like raspberries or strawberries to add a tart contrast. If you’re feeling adventurous, consider adding a swirl of caramel sauce to the filling or even incorporating some chopped toasted hazelnuts for an extra layer of texture and flavor. The possibilities are endless, and the reward is always a happy sigh of pure dessert enjoyment.
Frequently Asked Questions:
Can I make this No Bake Oreo Nutella Cheesecake ahead of time?
Absolutely! In fact, I recommend making it at least 4-6 hours, or even a day, in advance. This allows the cheesecake to fully set and the flavors to meld together beautifully. Just cover it tightly with plastic wrap and store it in the refrigerator.
What if I don’t have Oreos? Can I use a different cookie for the crust?
Yes, you can! While Oreos are fantastic, you can substitute them with other chocolate sandwich cookies or even chocolate grabeef ham crackers. You might need to adjust the amount of melted butter slightly depending on the cookie’s texture.
How long does this cheesecake last in the refrigerator?
This No Bake Oreo Nutella Cheesecake will stay fresh in the refrigerator for about 3-4 days when stored properly in an airtight container. However, I doubt it will last that long – it’s just too tempting!
No Bake Oreo Nutella Cheesecake
A decadent no-bake cheesecake featuring a crushed Oreo crust, creamy Nutella filling, and topped with more Oreos and drizzled Nutella.
Ingredients
-
200g crushed Oreos
-
50g melted butter
-
500g cream cheese, softened
-
200g Nutella
-
200g heavy whipping cream (35%)
-
50g sugar
-
100g chopped Oreos
-
100g Nutella
-
100g Nutella, warmed for drizzling
-
5 crushed Oreos (no filling)
-
6 whole Oreos for garnish
Instructions
-
Step 1
Combine crushed Oreos and melted butter. Press mixture into the base of a 23cm springform pan. -
Step 2
In a large bowl, beat the softened cream cheese until smooth. Stir in 200g Nutella until well combined. -
Step 3
In a separate bowl, whip the heavy cream and sugar until stiff peaks form. -
Step 4
Gently fold the whipped cream into the Nutella cream cheese mixture until just combined. Fold in the 100g chopped Oreos and 100g Nutella. -
Step 5
Pour the filling over the Oreo crust and spread evenly. -
Step 6
Chill the cheesecake in the refrigerator for at least 4 hours, or until firm. -
Step 7
Before serving, sprinkle the 5 crushed Oreos (no filling) over the top. Drizzle with warmed Nutella and garnish with 6 whole Oreos.
Important Information
Nutrition Facts (Per Serving)
It is important to consider this information as approximate and not to use it as definitive health advice.
Allergy Information
Please check ingredients for potential allergens and consult a health professional if in doubt.