Easy Lake Food Ideas – Pack Delicious Meals
Packing food to bring to the lake is an art form, and one that can truly elevate your outdoor experience. There’s nothing quite like the feeling of loungin extractg by the water, soaking up the sun, and then diggin extractg into a perfectly prepared meal that you brought yourself. We all love that feeling, don’t we? It’s that sense of satisfaction, knowing you’ve fueled your fun with delicious, homemade goodness. What makes this particular food packing strategy so special is its focus on ease of transport, minimal mess, and maximum enjoyment, ensuring every bite is as delightful as the last, no matter how far you’ve trekked to your favorite spot. This isn’t just about sustenance; it’s about creating culinary memories by the water.
Packing Food To Bring To The Lake
Heading out for a day (or weekend!) at the lake is one of my favorite ways to spend time. The sun, the water, the company – it’s all perfect. But let’s be honest, what really elevates a lake trip is delicious, easy-to-eat food that doesn’t require a full kitchen. Gone are the days of soggy sandwiches and lukewarm everything. I’ve perfected a system for packing amazing food that travels well and keeps everyone happy and energized for all that swimming, boating, or just plain relaxing.
The key to successful lake food packing is planning ahead and choosing items that are robust enough to withstand being transported and kept cool. I focus on things that can be prepared mostly in advance, are easy to assemble or eat on the go, and don’t create a huge mess. Think portable, delicious, and crowd-pleasing.
Ingredients:
Packing Instructions
Here’s how I break down the preparation and packing process to ensure a smooth and delicious lake day:
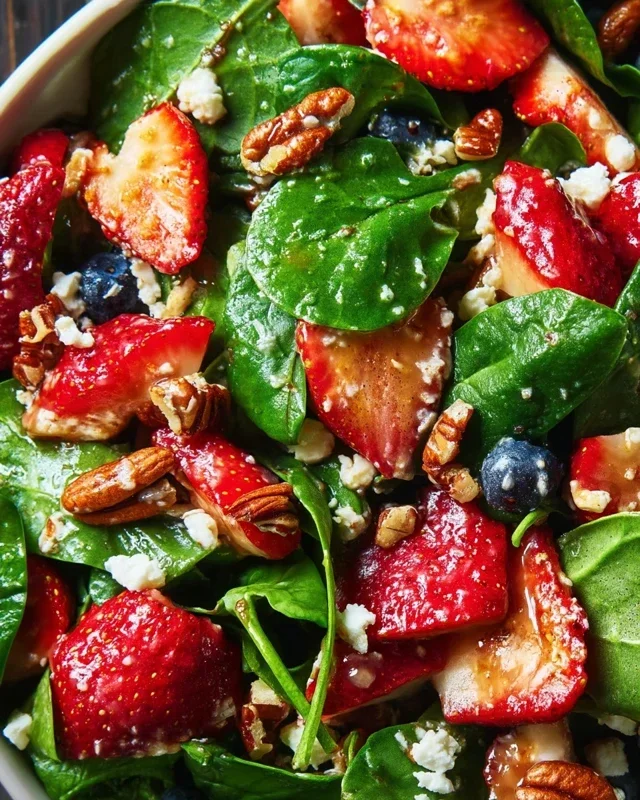
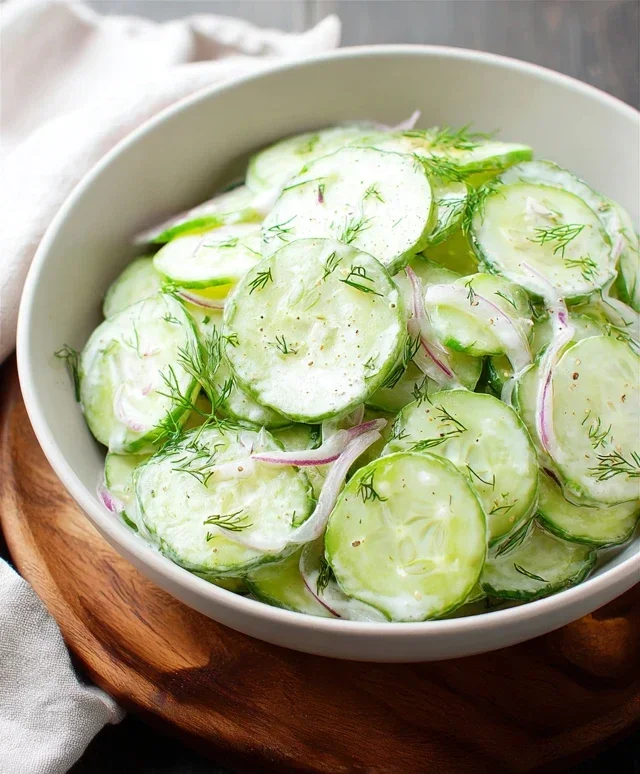
1. Prep Your Veggies and Fruits: The day before your trip, I like to wash and chop all my sturdy vegetables. Think carrot sticks, celery sticks, bell pepper strips, cucumber slices, and cherry tomatoes. For fruits, I’ll wash berries, chop melon into bite-sized chunks, and separate grapes from their stems. This is also a great time to hard-boil eggs if you’re bringin extractg them. The goal here is to have everything ready to go into containers, minimizing on-site prep. I store these prepped fruits and veggies in separate airtight containers. For things like cherry tomatoes and grapes, they can just go into their own containers without much fuss. This makes grab-and-go snacking incredibly easy once you’re at the lake.
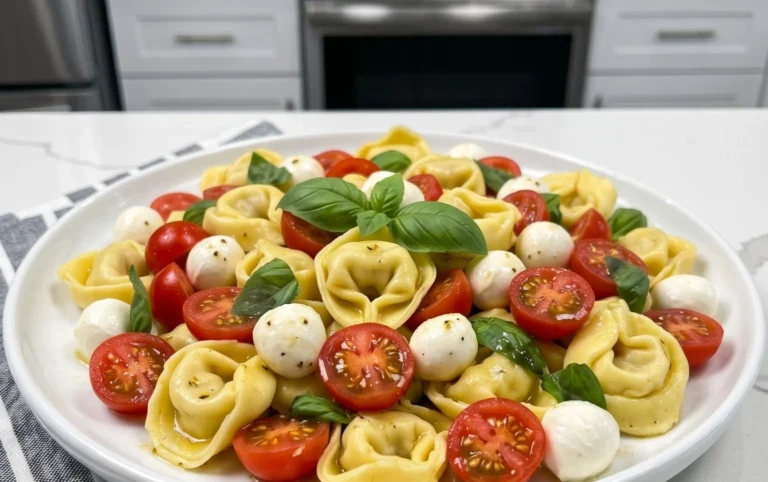
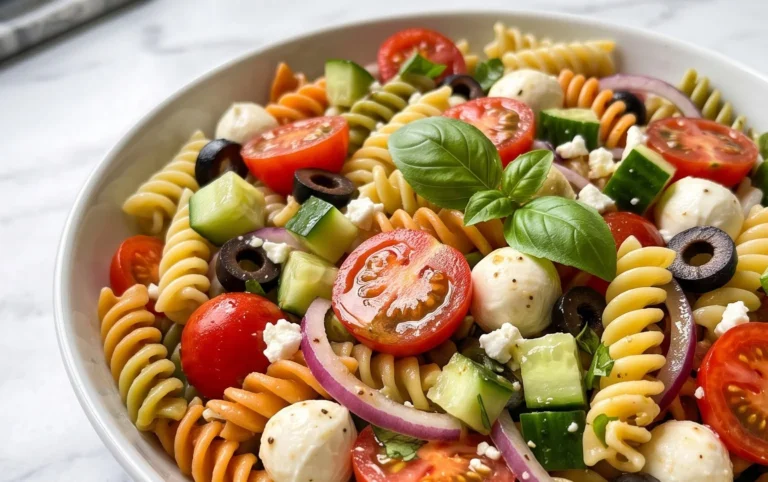
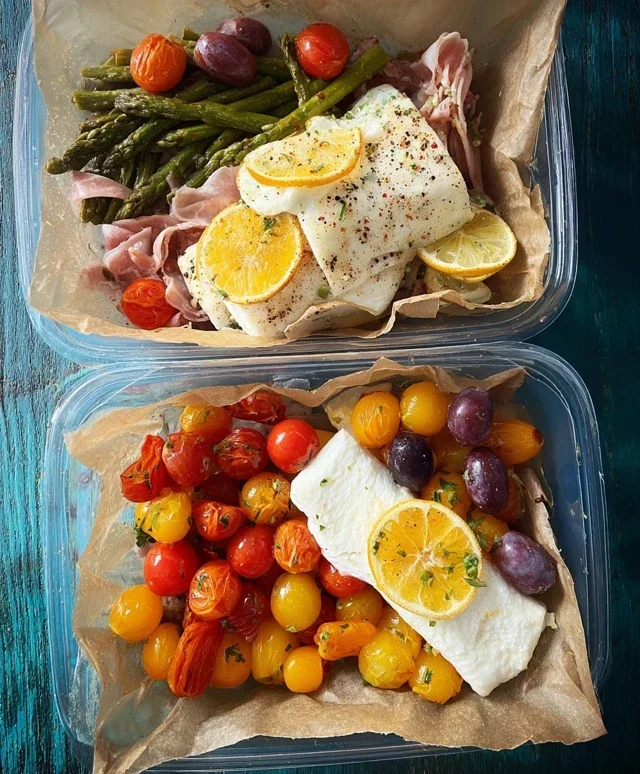
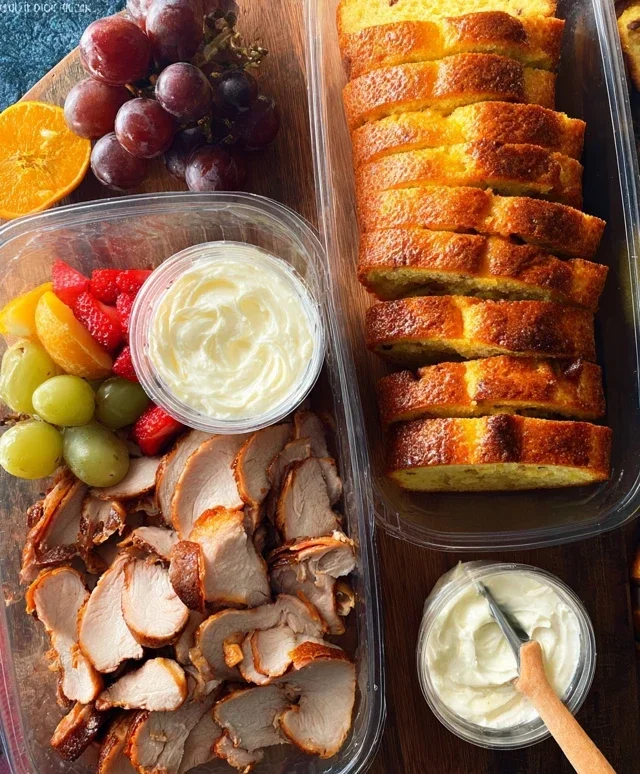
2. Assemble Your Main Dishes: For sandwiches or wraps, I assemble them just before packing. This prevents the bread from getting soggy. I’ll lay out my bread or tortillas, layer on the deli meats, cheeses, and any desired condiments (though I often pack condiments separately in small containers to avoid leakage). If I’m making wraps, I’ll make sure to roll them tightly and secure them with plastic wrap or a reusable wrap. For a heartier option, pre-cooked chicken breasts can be sliced and added to wraps or served alongside a salad. My pasta salad is another make-ahead star. I cook the pasta the day before and let it cool completely before mixing it with my chopped veggies and a homemade vinaigrette. This allows the flavors to meld beautifully. I make sure the vinaigrette isn’t too oily, as it can make the pasta salad greasy if it sits too long.
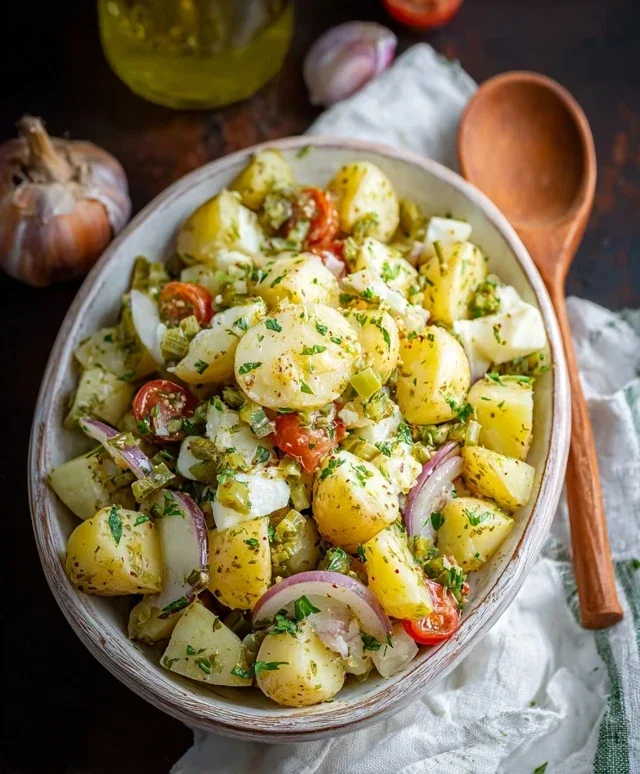
3. Pack Your Dips and Salads:** Hummus, French onion dip, or any other favorite dips should be transferred into sturdy, leak-proof containers. I often use small, reusable jars for dips. For the pasta salad, I put it in a large, well-senon-alcoholic aled container. If you’re bringin extractg a potato salad or deviled eggs, ensure they are kept extremely cold. These types of items are more susceptible to spoilage, so a really good cooler with plenty of ice packs is essential. I like to layer heavier items at the bottom of my cooler to prevent lighter things from getting crushed.
4. Create Grab-and-Go Snack Packs: This is where the magic happens for easy snacking. I portion out trail mix, snack bars, cookies, or brownies into individual bags or small containers. This makes it super easy for everyone to just grab what they want without having to dig through a large container. For cheeses, I’ll either cube them and put them in a container or bring pre-packaged string cheese. I also find that a small bag of sturdy crackers to go with the cheese is a good addition. This takes the guesswork out of snacking and ensures you’re not left with a half-eaten bag of something.
5. Strategize Your Cooler Packing: This is probably the most critical step for keeping everything fresh and cold. I start by lining my cooler with a layer of ice packs or frozen water bottles. Then, I begin extract packing. Items that need to stay the coldest, like the deli meats, cheeses, and any dairy-based dips or salads, go at the bottom, directly on the ice. I then layer in the prepared vegetables and fruits. The sandwiches and wraps go on top, where they are less likely to get squashed. I fill any remaining spaces with more ice packs. A good rule of thumb is to use more ice than you think you’ll need. If you’re using a soft-sided cooler, consider using frozen water bottles, as they’ll melt into cold drinking water later in the day. I also like to pack a separate small cooler for drinks if I have the space, so I don’t have to open the main food cooler as often, which helps maintain its temperature.
Remember to bring along reusable utensils, napkins, and any trash bags for easy cleanup. With a little planning, you can enjoy a fantastic and delicious lake day without worrying about your food!
Conclusion:
So there you have it – the ultimate guide to packing food to bring to the lake! We’ve covered delicious, easy-to-transport meals that are perfect for a sunny day by the water. These recipes are fantastic because they minimize mess, stay fresh without constant refrigeration (with proper packing!), and are incredibly satisfying. Think of those happy sighs as you dig into a perfectly chilled sandwich or a refreshing pasta salad after a swim. Don’t forget to pack plenty of drinks to stay hydrated, too!
I highly encourage you to try these out for your next lake adventure. They’re designed for maximum enjoyment with minimal fuss, letting you truly relax and soak in the fun. Experiment with variations too – swap out proteins, add different veggies, or try new dips. The possibilities are endless, and you’ll quickly find your own go-to lake-day favorites.
Frequently Asked Questions:
Q: How can I keep my food cold without a cooler?
While a cooler is ideal, if you absolutely can’t bring one, focus on items that are less perishable. Think sturdy fruits like apples and oranges, hard-boiled eggs (still best in a cool bag if possible!), and robust sandwiches with fillings like peanut butter and jelly or hard cheeses. Wrap everything tightly in reusable wraps or containers to offer some protection from the sun and heat.
Q: What are some good dessert options for the lake?
For portable and satisfying sweet treats, consider cookies, brownies, or fruit salad. Fruit skewers are also a great, less messy option. Avoid anything that melts easily like chocolate bars or anything with a delicate cream filling unless you have a very reliable cooler.
Q: Can I prepare any of these dishes the day before?
Absolutely! Most of these recipes are designed to be made ahead of time. Pasta salads, grain bowls, and even most sandwiches can be prepared the day before and stored in airtight containers in the refrigerator. This saves you valuable time on the morning of your lake trip and ensures your food is perfectly chilled and ready to go.
Packing Food To Bring To The Lake
A guide to preparing and packing a variety of delicious and portable foods for a day at the lake, perfect for easy enjoyment without extensive preparation on-site.
Ingredients
-
Sandwich bread
-
Deli turkey slices
-
Provolone cheese slices
-
Lettuce leaves
-
Tomato slices
-
Potato chips
-
Fruit salad
-
Water bottles
Instructions
-
Step 1
Assemble sandwiches by layering turkey slices, provolone cheese, lettuce, and tomato on sandwich bread. -
Step 2
Pre-slice any fruits for the fruit salad and combine them in a sealed container. -
Step 3
Portion out potato chips into smaller, resealable bags or containers for easy distribution. -
Step 4
Ensure all food items are packed in airtight containers or resealable bags to maintain freshness and prevent leaks. -
Step 5
Keep chilled items, such as sandwiches and fruit salad, in a cooler with ice packs to maintain a safe temperature. -
Step 6
Pack water bottles and other beverages, ensuring they are easily accessible.
Important Information
Nutrition Facts (Per Serving)
It is important to consider this information as approximate and not to use it as definitive health advice.
Allergy Information
Please check ingredients for potential allergens and consult a health professional if in doubt.